1. understanding event dashboard menus
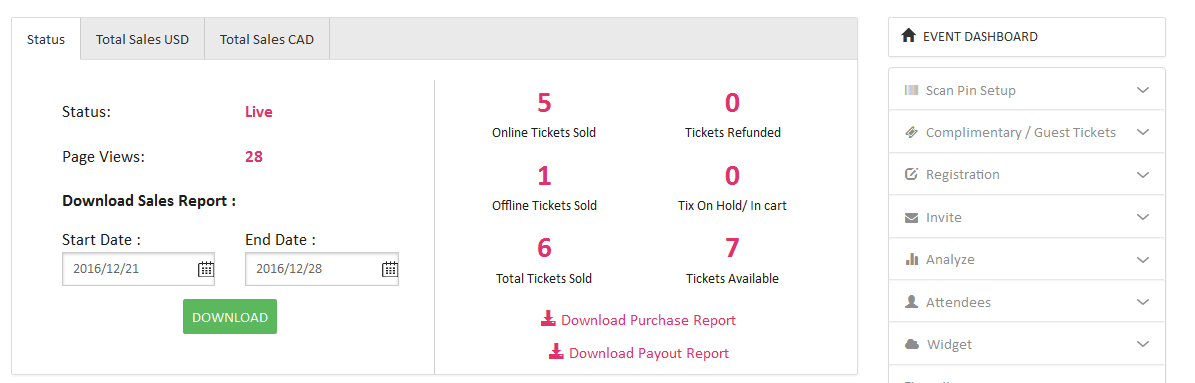
Go to the “My Store” section of your TicketGateway account and click on the event manage icon to access the event dashboard. The event dashboard lets you know how things are going with your event. From total sales and number of tickets sold, to your event status (such as live or draft) and event privacy setting (public, private, etc.), you can gauge your event's overall performance in a split second.
You can also manage your event with our easy and active features, which help drive your event performance to the next level.

2. scan pin setup
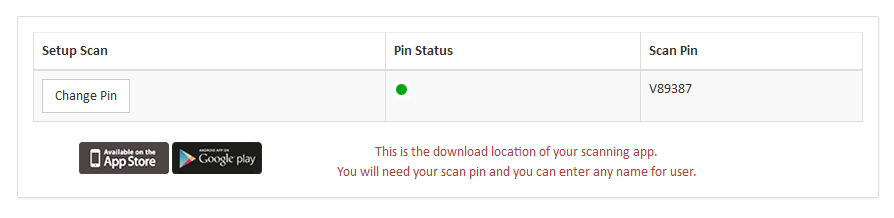
Checking in attendees is quick and easy with our TicketGateway TGLIVESCAN mobile app for iOS and Android devices. After downloading the TGLIVESCAN app, you require an event pin to login. You can create it with the scan pin setup option following the instructions below.
Under the event dashboard, select “Scan pin setup” and then “Setup Scan.” When you select “Change Pin,” the status will turn green into red and unique scan pin will be generated. You can use this pin to login on the TGLIVESCAN app.
3. complimentary tickets
A complimentary ticket is the ticket for customers who want free tickets. It requires the customer's name on the tickets so it can only be used by that person and the guests they bring. It is usually provided by the promoter or event organizer.

- In the event dashboard you will find the “Complimentary Ticket” section.
- Choose an option to send a ticket.
- Upload CSV: a file containing email, first name, last name, label.
- Enter Data Manually: Add details of a person.
- The person will receive the ticket and they can download or print.
4. Customize Order Form
You can create a custom order form for your ticket buyer. You can also collect any information you need by creating custom questions for attendees to answer when they register. From your event's Manage page under the event dashboard, go to “Registration Options” and select "Customize Order Form." All you have to do is select the "Create a question" button to get started. Click on registration option and choose customize order form. There you can assign required fields for attendees while buying tickets.
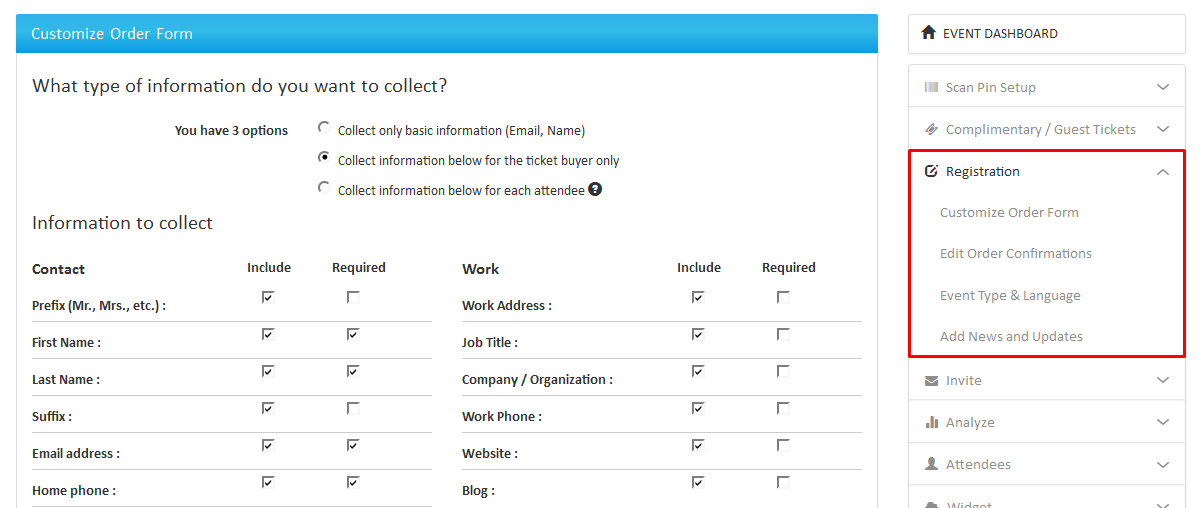
Here You Can See Three Options :
- Collect only basic information (Email, Name).
- Collect information below for the ticket buyer only.
- Collect information below for each attendee.
a) Option 1: Collect Only Basic Information (Email, Name)
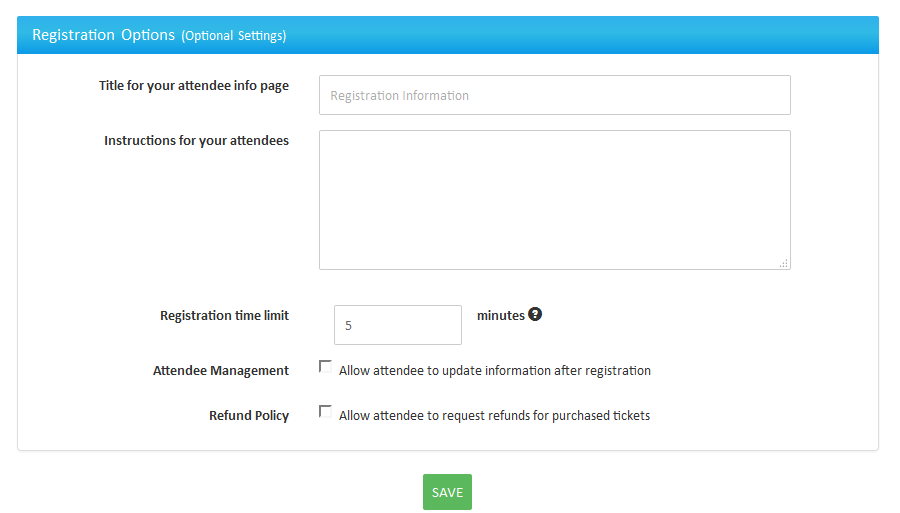
- Here you can assign titles for your attendee info page.
- Instructions for your attendees.
- Registration time limit.
- Attendee management (Allow attendee to update information after registration).
- Refund policy. (Allow attendee to request refunds for purchased tickets).
b) Option 2: Collect Information Below For The Ticket Buyer Only)
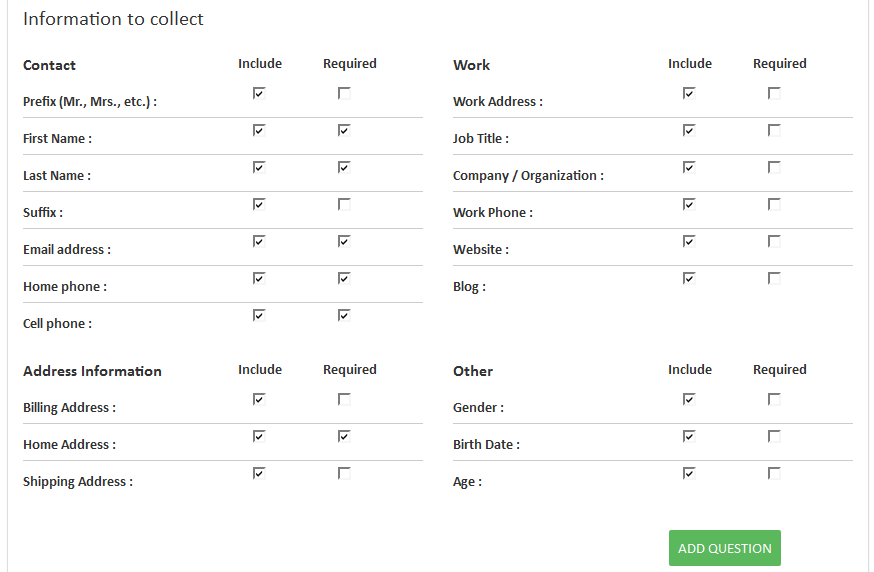
Here you assign the field to collection information from ticket buyers like contact info, work info, address info etc.
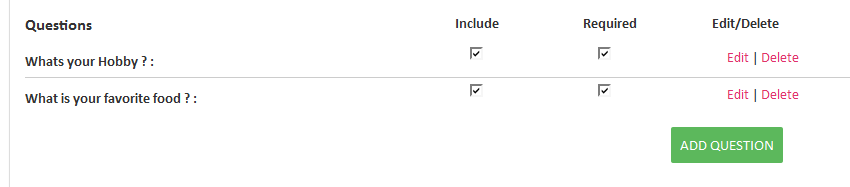
You can also see the “Add question” button below the form. Here you can set multiple custom questions for the buyer to collect their personal info or other interests.
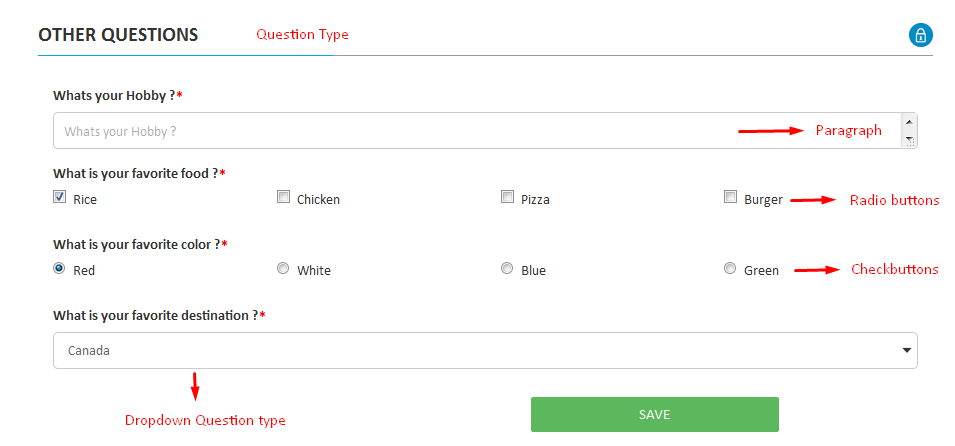
Create Question And Question Type
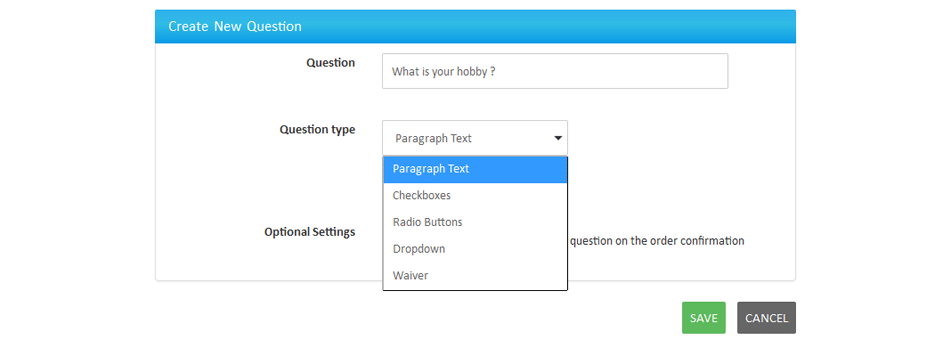
other interests.Create Question And Question Type In the “Question type” field it shows the formats you can use to display your question - Paragraph text, Checkbox, Radio button, Dropdown or Waiver.
After creating a question you must check “Include” on the registration form to display this question in your order processing form, you can also mark it as a required question if needed.
c) Option 3: Collect Information Below For Each Attendee
Here you can see the options for assigned fields on selected tickets or all tickets.

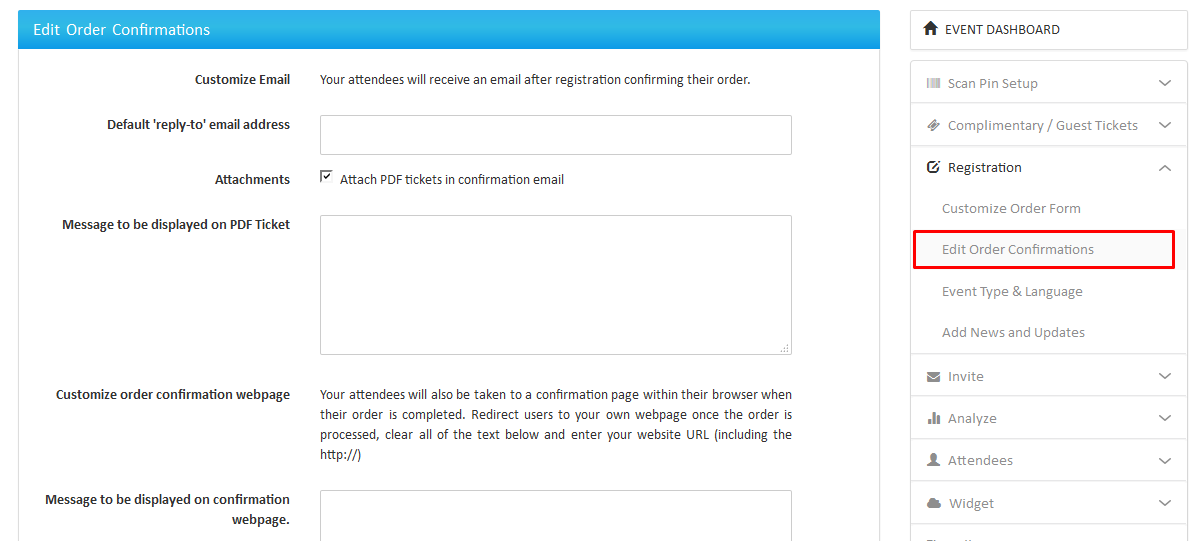
Edit Order Confirmation:
After creating a customized order form you can edit the fields below as per your requirement.
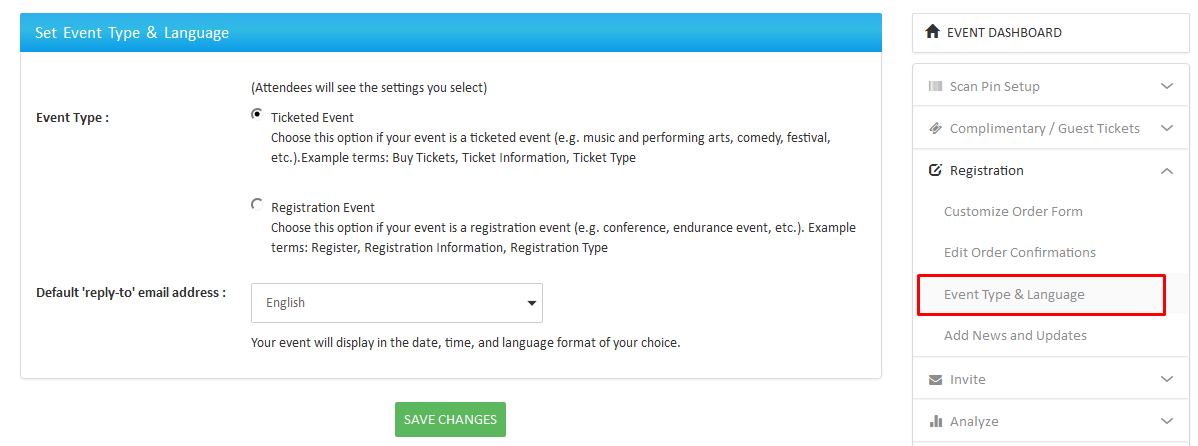
Set Event Type & Language:
After creating a customized order form you can edit the fields below as per your requirement.
Ticketed Event: Choose this option if your event is a ticketed event (e.g. music and performing arts, comedy, festival, etc.) Example terms: Buy Tickets, Ticket Information, Ticket Type.
Registration Event: Choose this option if your event is a registration event (e.g. conference, endurance event, etc.). Example terms: Register, Registration Information, Registration Type.
Add News & Updates:
You can add event news and update about event .
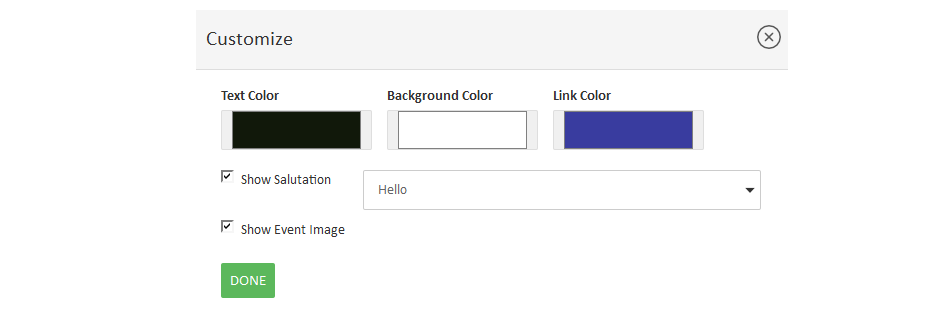
5. Invite Guest
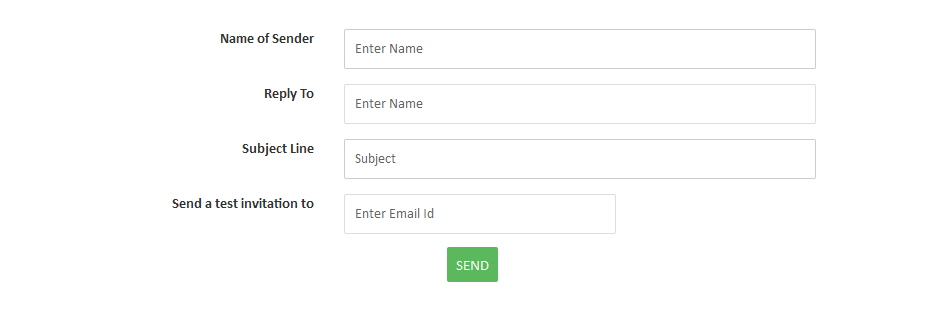
In this section you can create custom templates and send multiple invitation emails to people. You can change text color, background color and link color and add greetings displayed in the dropdown menu.
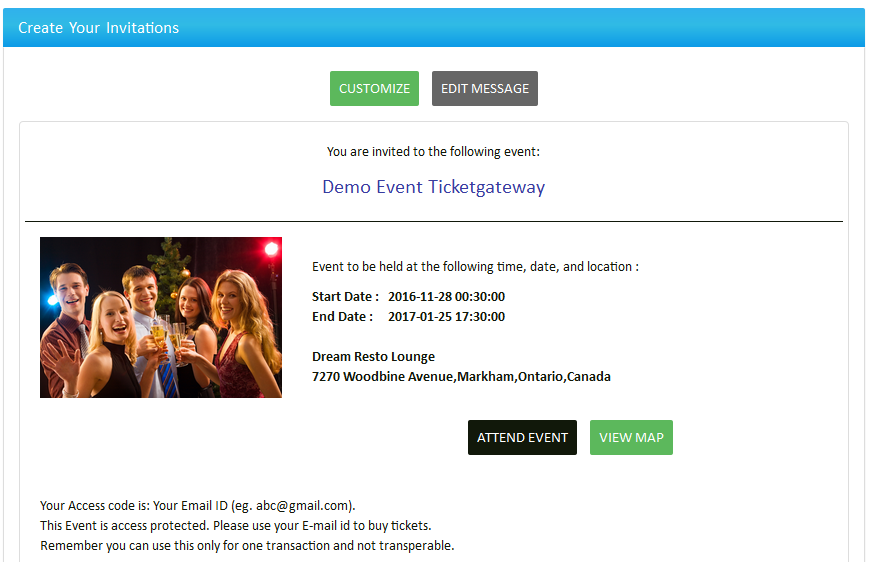
Customers will receive an invite in their email (example below):
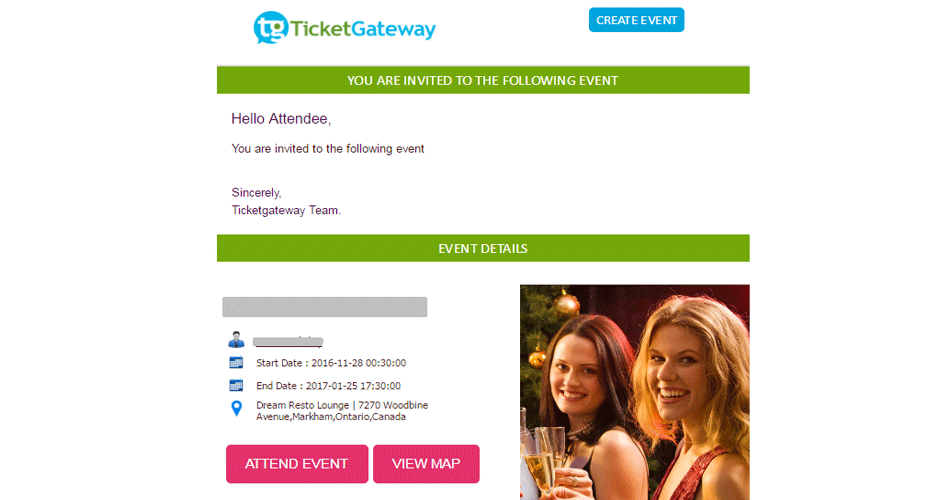
- You can save this guest list as draft for feature or send to people at movement.
- You can manage your Guest Invitations in the Manage Invitations section. There you see the Scheduled emails and draft emails. If email sending are under process than its goes to Scheduled. It will be clear after some time. If you save the email template than its goes to Draft sections.
6. add attendee
Want to give someone complimentary tickets? Have someone who paid for tickets offline? You can add attendees manually to make sure they are included in all of your reporting and event communication by completing a separate registration on their behalf. No fees are charged on manually added orders, and you can even send an order confirmation email after adding them in. From your event's “Manage” page, go to “Manage Attendees” and select "Add Attendees" to get started.
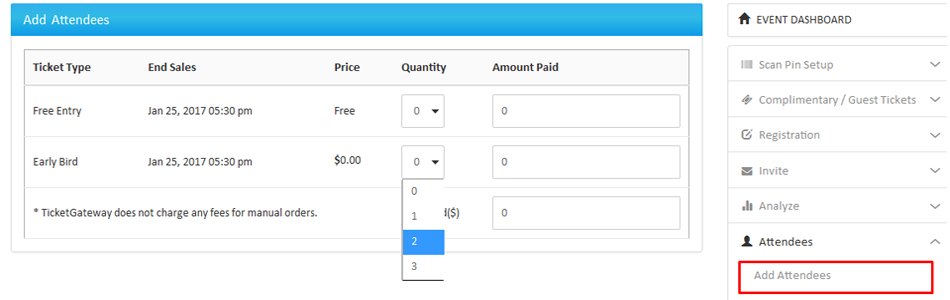
6.2 Steps To Add An Attendee
On the "Add attendees" page, click or tap in the field under "Quantity" to enter the number of tickets for the attendee(s). The "Amount Paid" and "Total Paid" will automatically update with the ticket price multiplied by quantity, but these fields can also be edited if you need to make special adjustments.
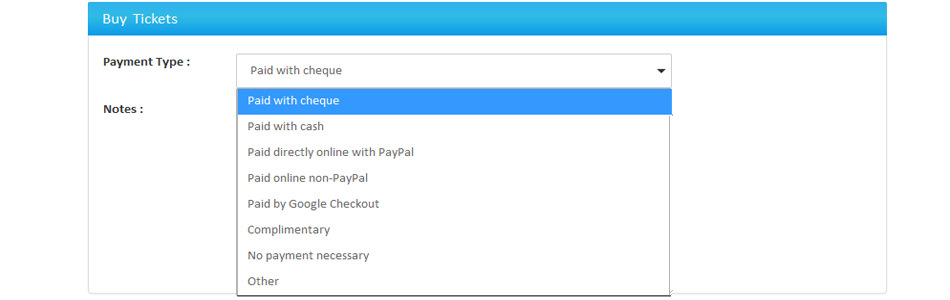
Choose A Payment Type
The "Payment Type" will be set to "Paid with cheque" by default, but you can use the drop-down menu to select a different option and buy tickets for an attendee.
Refund Attendees
If an event may be cancelled for any reason then an attendee may ask for refund. You can refund them easily with a simple process given below:
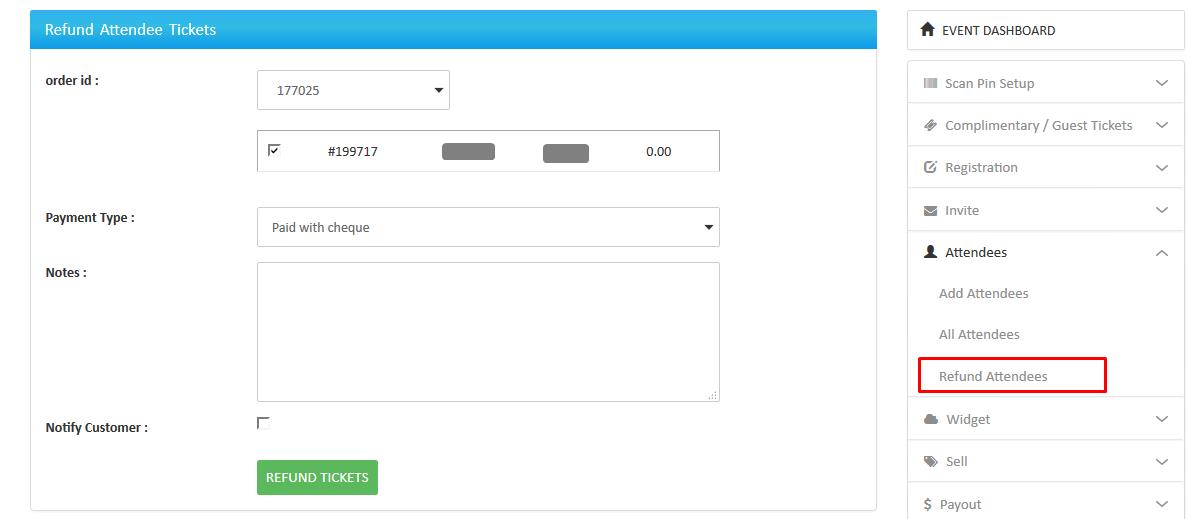
- Select order id from drop down menu.
- Select payment type.
- Write a short note for an attendee.
- Select “Refund attendee”.
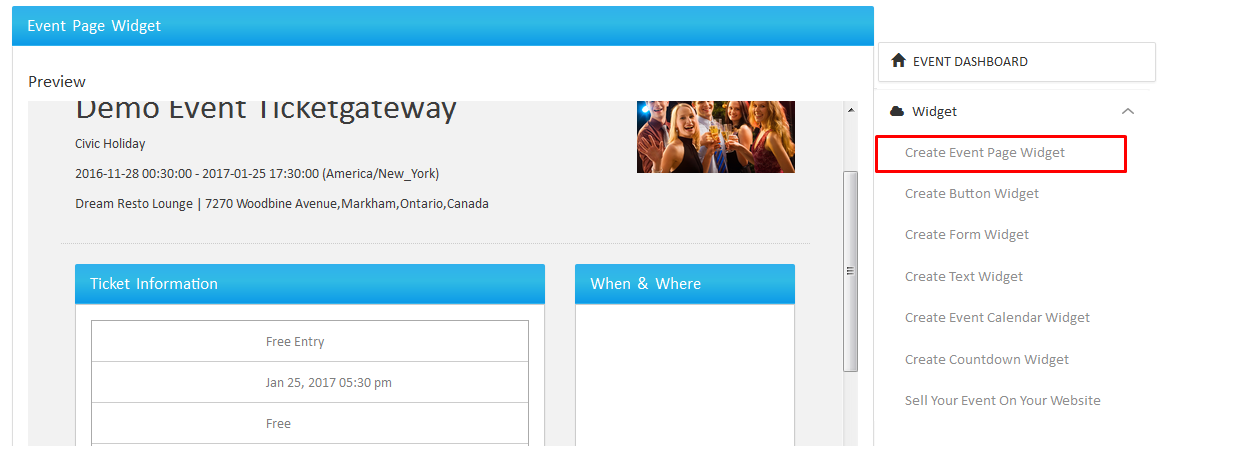
7. create widget
TicketGateway offers unique ways to sell tickets right from your personal website or blog by using one of our promotional widgets. It is a great way to drive ticket sales. From your event's “Manage” page, go to "Widgets" and select one of our promotional widgets to get started.
Here you can create a widget for:
- Event pages.
- Event Ticket forms.
- Event Ticket buttons.
- Event Texts.
- Event Calendars.
- Countdown timers.
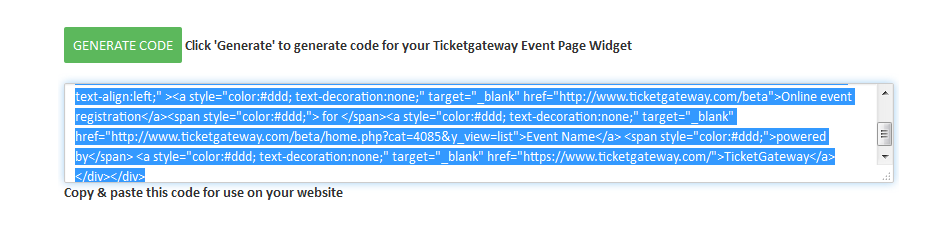
- Click on “Generate Code” for the widget.
- Copy and Paste the code for use on your website.
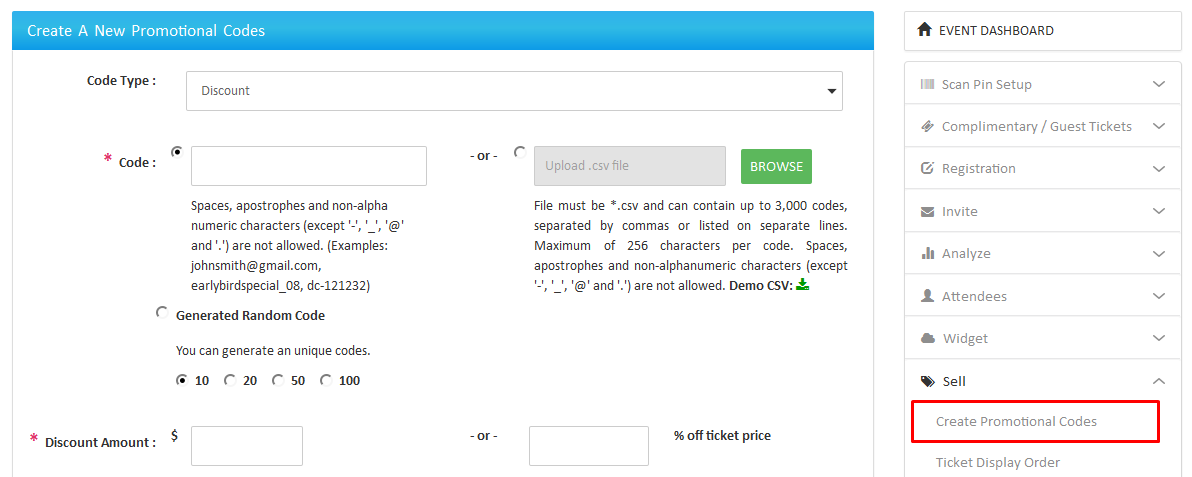
8. Create Promotional Codes
a) Option 1: Discount Code
A promo code is a kind of coupon that entitles you for additional value/discounts/cash returns. Customers who have a Promo code can get discounts by entering the code. TicketGateway provides promotional codes and access codes for customers, which are created by the promoter. If you are a promoter, you can create as many promo-codes as you want for your event tickets.
How to create promo code ?
- Choose the “Create promotional code” option.
- Click on “Create more codes”.
- Select code type from the dropdown menu.
- Enter the coupon code - you can also upload multiple codes using a .csv file. You can see the demo file by selecting “Demo CSV”.
- You can also generate random codes.
- Select the tickets to apply the promo-code on.
- Assign discount amount in dollar or % OFF ticket price.
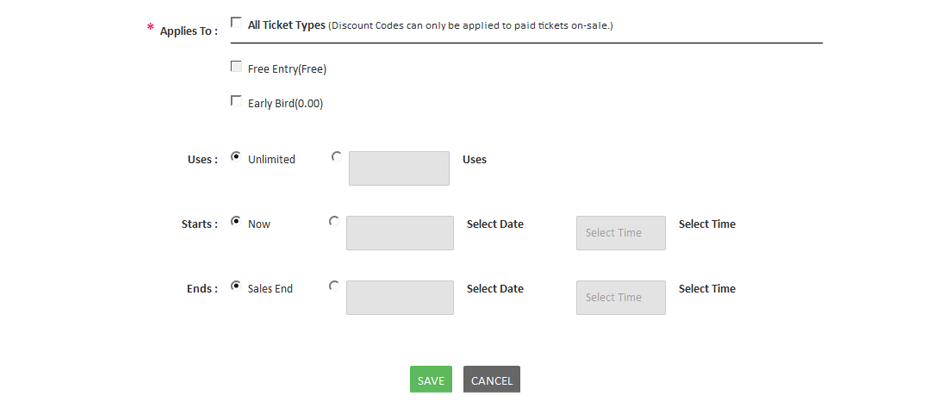
- Select applies to option, here you can select ticket type for your promocode.
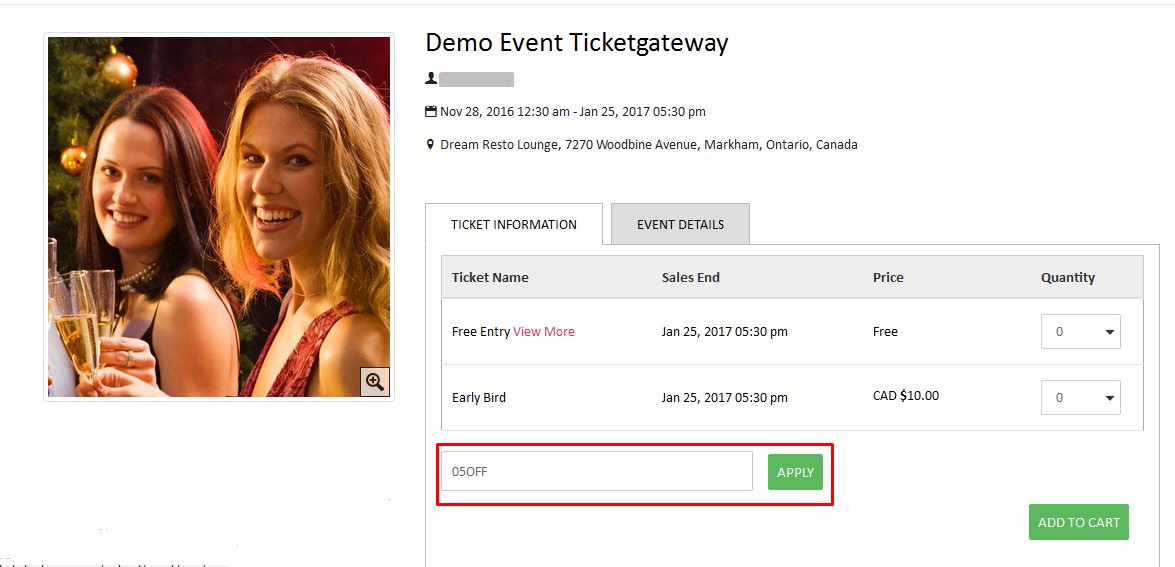
- The promo code will be applied at the time of purchase from event view page.
- Once you enter the promo code the amount of tickets will change according to the discount % or amount assigned to that promo code.
- Assign uses as unlimited or limited by selecting options.
- Assign the promo code Start Date/Time and End Date/Time.
- Save settings.
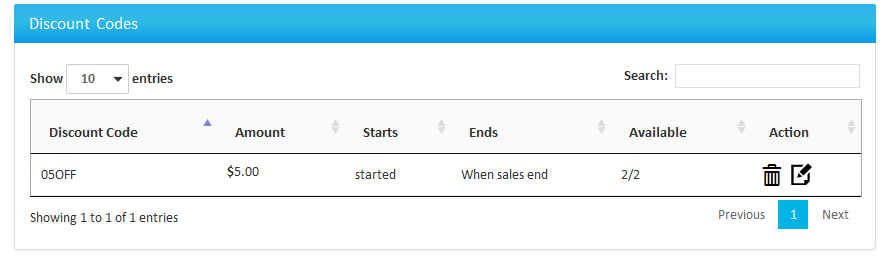
You can see all the details of your applied promo code in the table after saved settings.
2. Access Code
An access code is a kind of coupon that allows access for event tickets. Customers who have an access code can gain access to tickets by entering the code. TicketGateway provides access codes for customers, which are created by the promoter.
How to create access code ?
- Select access code type from the dropdown menu.
- Enter the coupon code - you can also upload multiple codes using a .csv file. You can see the demo file by selecting “Demo CSV”.
- You can also generate random codes.
- Select the tickets to apply the promo code on. (Access codes can only be applied to hidden tickets).
- Before using the access code option you must create hidden tickets while creating the event. You can find the “Hidden” option under the sale status dropdown menu.

View your assigned promo codes on the event view page just below the “Apply” field. There you can enter a promo code and apply it to your ticket and the buyer will get the applicable discount offer or ticket access.
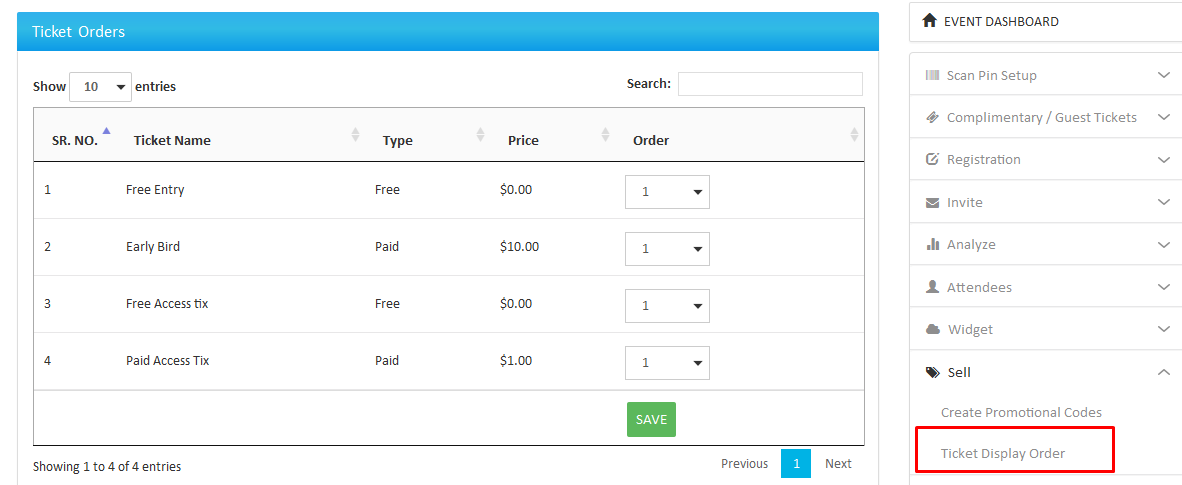
Ticket Display Order
If you want to arrange your ticket order sequence from top to bottom, assign that order from the dropdown menu.
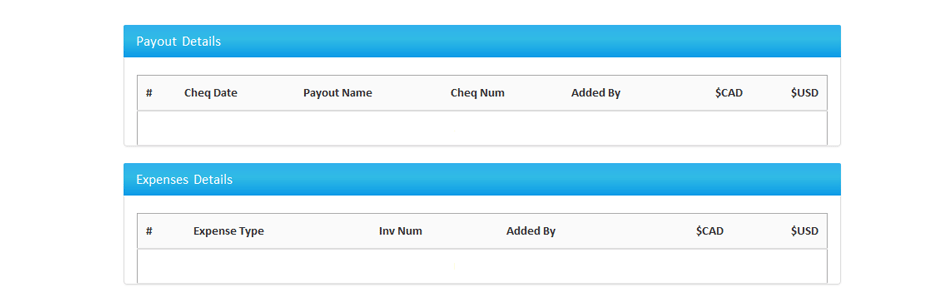
9. payout details
Here you can see payout information in a table with all the details.
10. referral program
TicketGateway's features and flexibility make us a great solution for all types of events - from small reunions to large conferences. Refer us to your friends, family and business colleagues!
- To create a referral URL click on “Add Referral” from the right side dashboard.
- Add the recipient name in the text box.
- Enter an email address of recipient.
- Enter text to create a link.
- After entering all the info click on the save button - it will redirect you to the generated referral link.
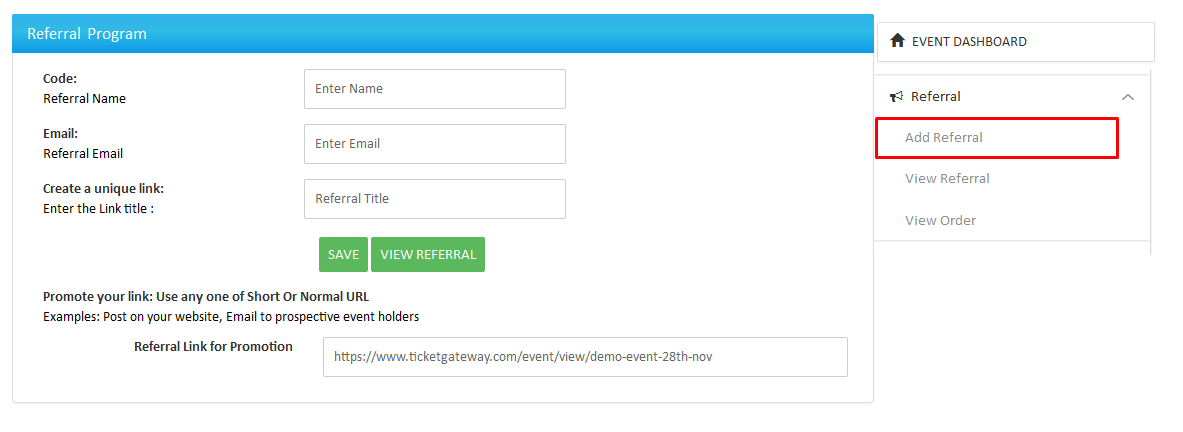

You can also share a generated link through social media.
11. guest list
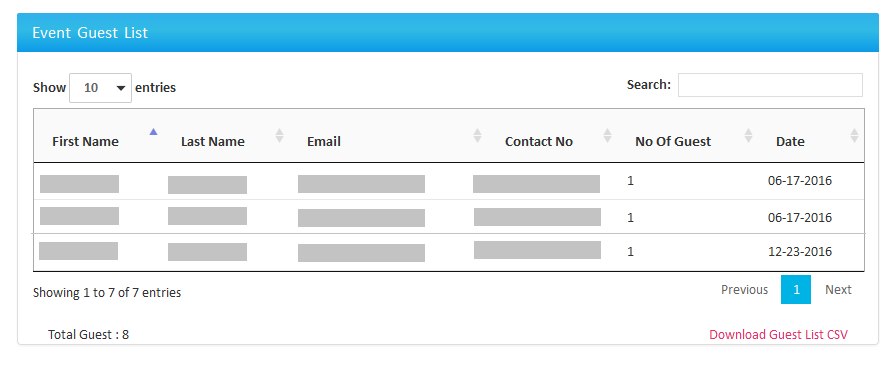
Here you can see the guest list in a table. You can also download the guest list in a .csv file.
12. bottle services
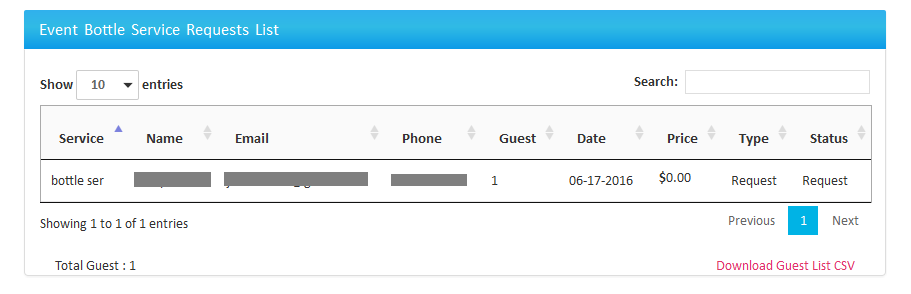
You can see the Bottle Service Requests List in this table and you can download the list in a .csv format.
13.1 email subscriber
Here you can see the list of ticket subscribers for the events.
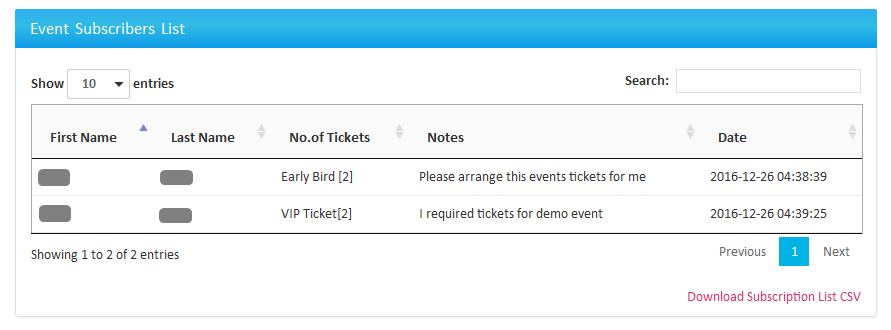
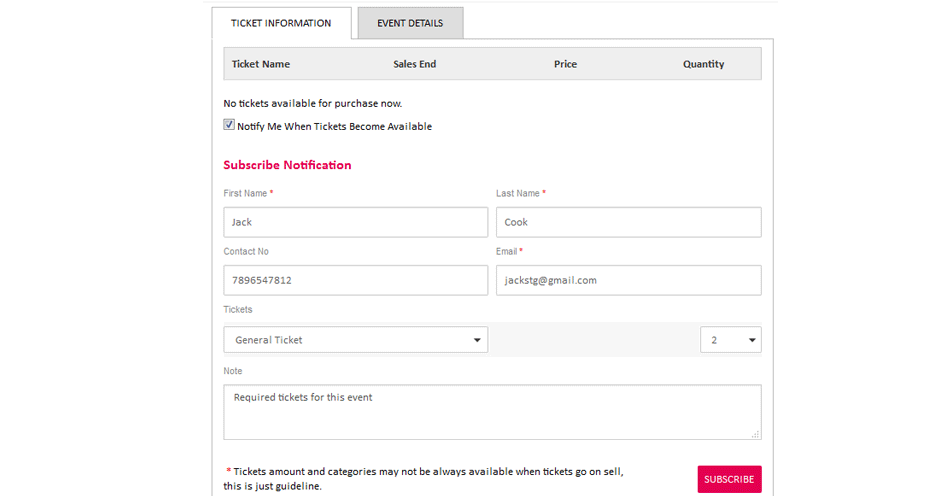
How To Subscribe For Event Tickets ?
If you visit an event page and see that tickets are sold out or no tickets are available for the event, you can subscribe for updates and ask the organizer for the tickets. You need to fill out the form below and subscribe. The organizer will contact you or arrange tickets for you if possible.