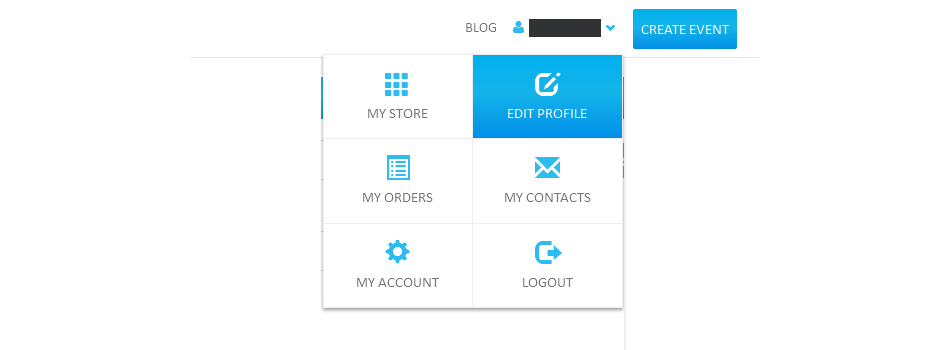
Customizing and publicizing your organizer profile page is a great way to drive all your potential attendees to a single page listing all your public events. Start customizing your profile with photos and social media integration by using the account menu and going to "Organizer Profile".
1.How To Set Up Your Organizer Profile Page ?
1.1 Option 1
- While creating an event on Ticketgateway you can add new options just below the event description box.
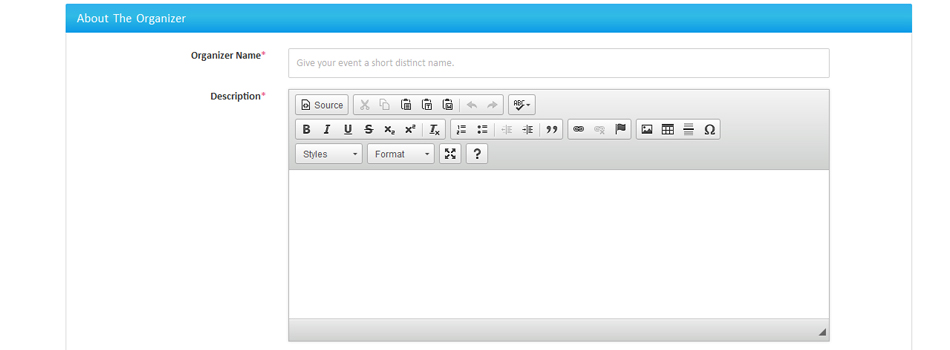
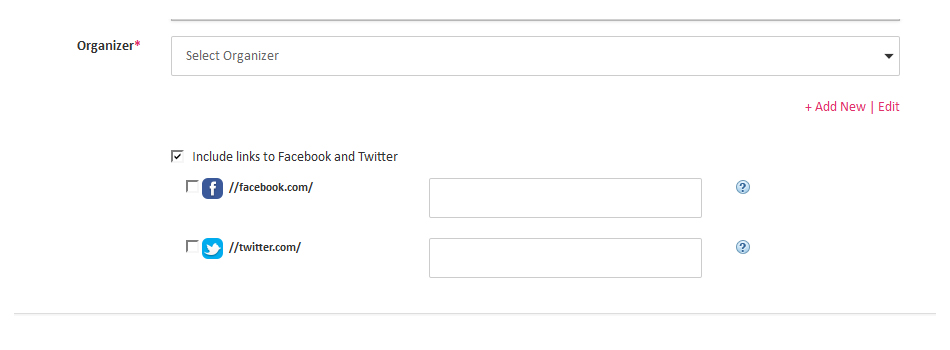
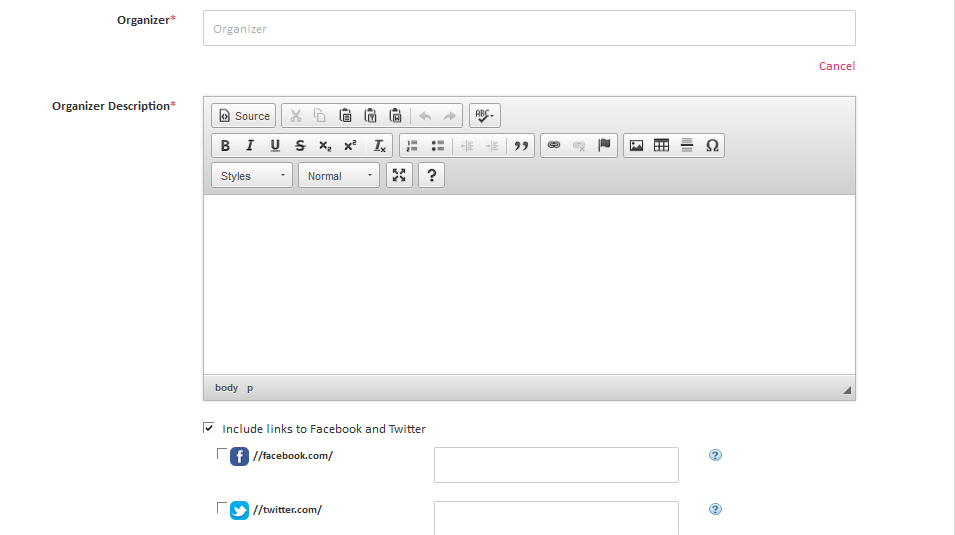
- After clicking on "Add new organizer" a box will appear asking for the organizer's name and description (about organizer) which also includes social media links for Facebook and Twitter.
- In order to create an event, you need to complete the organizer profile.
1.2 Option 2 - Full Organizer Profile Creation
- Go to "Organizer Profile": After logging in and creating an event, access the Account Menu and select "Edit Profile".
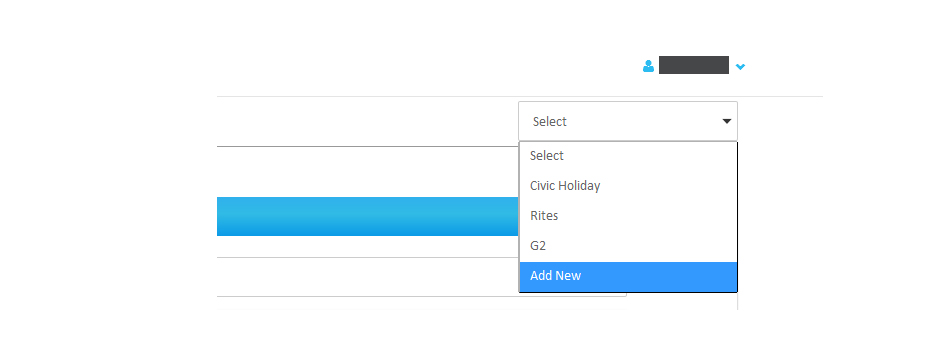
- Choose the organizer profile you want to modify, or create a new one: You can use the default organizer, or access the drop-down menu up top to select an already-existing organizer. You can also select "Create a new organizer" to create a new organizer.
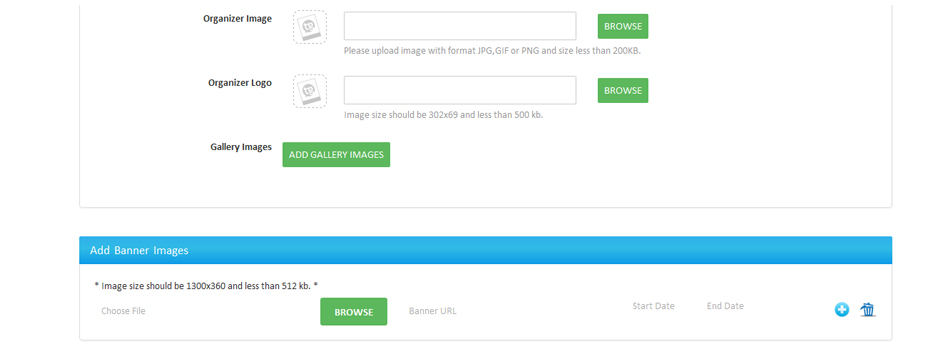
- Upload an organizer image, logo and banner: Select "Choose File" and choose an image from your computer, and then select "Upload".
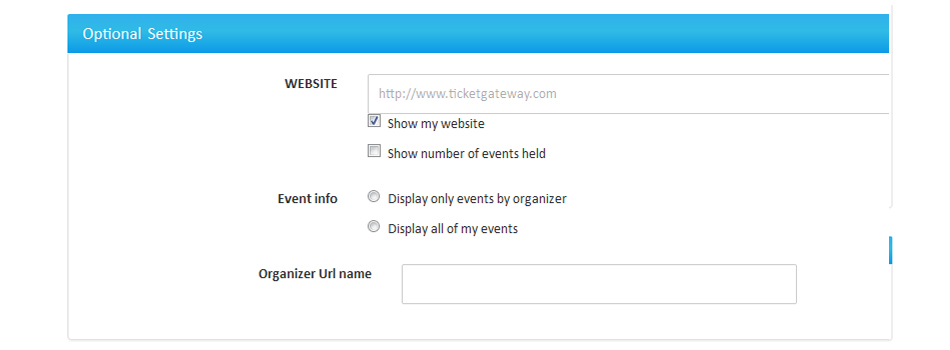
- Include a link to your website: Add a link to your personal website that will appear beneath your organizer name. Just enter the URL in the field under "Website".
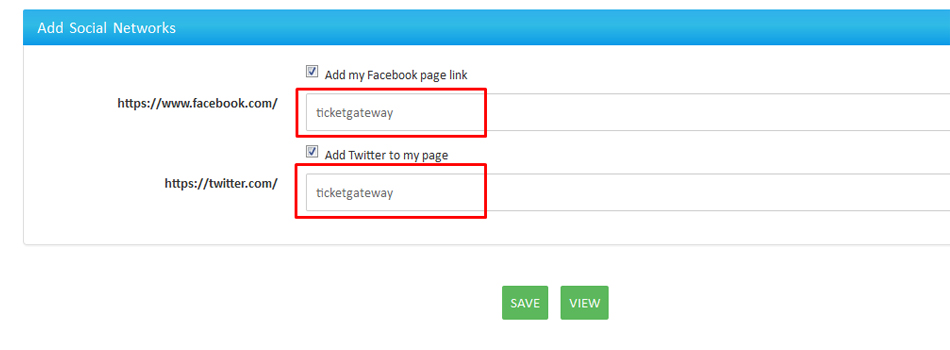
- Integrate your social networks: Include a link to your Facebook and Twitter pages to help promote your brand.
- Save changes
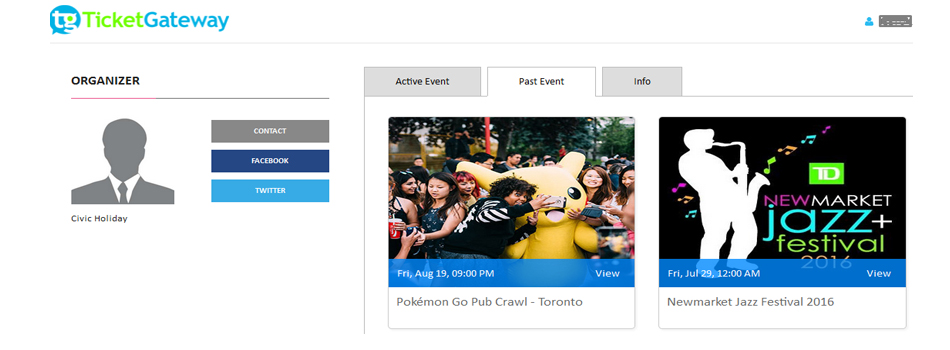
- View your organizer profile page