1. set up an event
Our event creation process is designed to be lightweight—you can get an event live on TicketGateway, for free, in just 3 main steps on the “Edit” page (Event Details, Create Tickets, and Additional Account Settings). Simply choose "Create an Event" to start setting up your events. We also have robust customization options so you can get the most out of your event listing.
1.2 if you want to set up event on ticketgateway just follow these steps:

a) Option 1: Click On The “Create Event” Button
- Give Suitable title of maximum 75 characters.
- Select the event venue with the proper address.
- Select accurate event date and time.
- Upload an image to represent your event.
- Add a video url related to your event if available.
- Give a full or brief description of your event.
b) Option 2: Give A Suitable Title To The Event

We only require an "Event Title" (keep it under 75 characters) plus the date & time of the event (make sure your time zone is correct) to get started.
c) Option 3: Set The Event Venue With The Proper Address
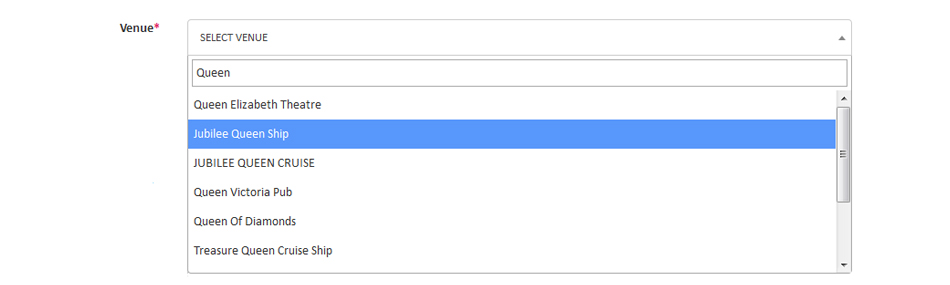
If you are not sure what your venue will be, you can enter just a city and state in the address field (or start typing for predictive completion). Your location will show up on a Google map below, which shows up on your event listing as you see it here (uncheck to remove it or zoom to adjust).
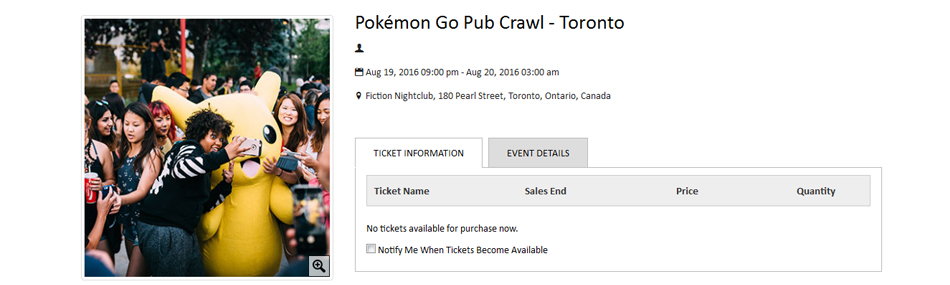
d) Option 4: Upload An Image To Represent Your Event

Select "Browse” to add an eye-catching event image that makes an impression on attendees.
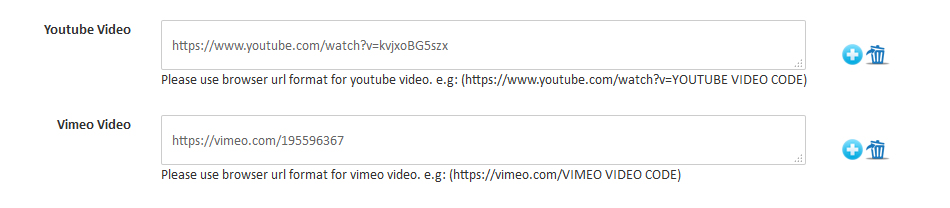
e) Option 5: Add Videos
You can add promotional videos from Youtube and Vimeo. Copy the video url and paste in available video section.
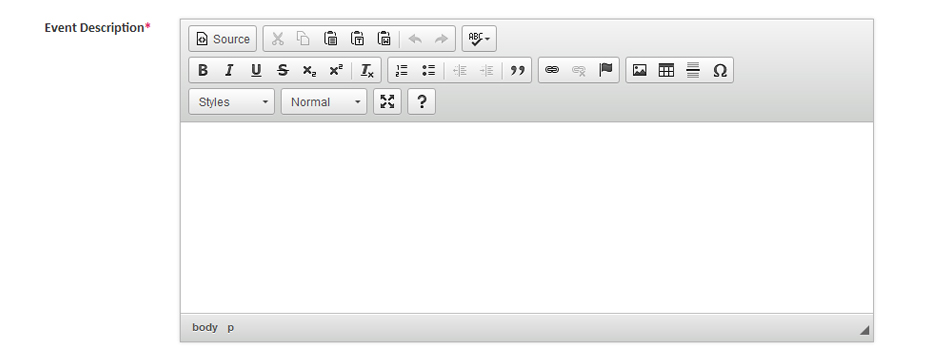
f) Option 6: Add An Event Description
Give a full or brief description about your event.
Customizing and publicizing your organizer profile page is a great way to drive all your potential attendees to a single page listing all your public events. Start customizing your profile with photos, and social media integrations by using the account menu and going to “Organizer Profile.”
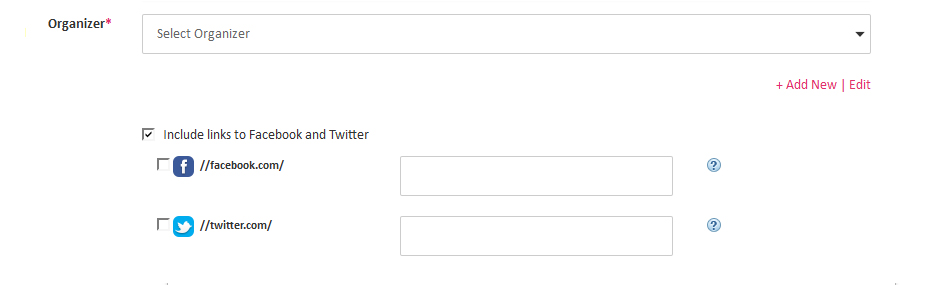
g) Option 7: Add Information About The Event Organizer
While creating an event you can:
- Add new options just below the event description box.
- Select an existing organizer profile.
- Include social media profiles (Facebook and Twitter).
- Edit organizer’s full profile in “Edit Organizer” menu from the top.
2.Create Tickets Types
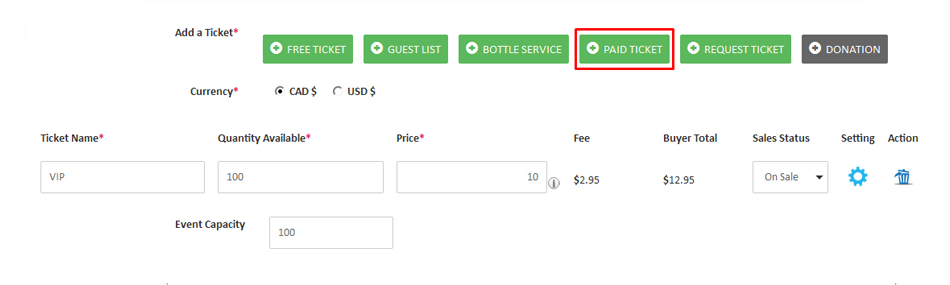
2.1 Create Paid Tickets
- In “Add ticket” section you need to select “Paid Ticket”.
- Give a name to the ticket.
- Add the quantity of tickets (it will reflect in event capacity).
- Add a price for the tickets (it will include processing fees and price will show under the “Buyer Total” column).
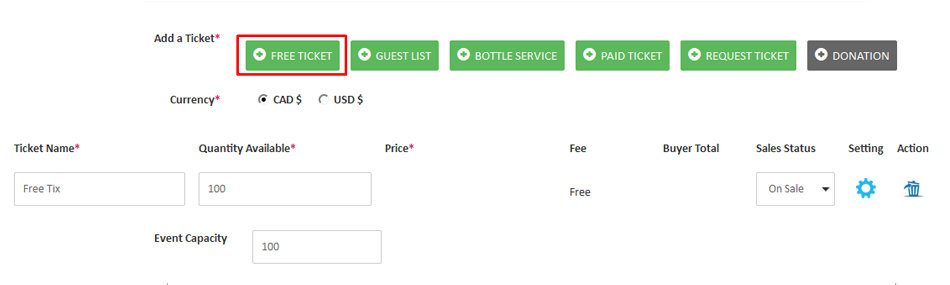
2.2 Create Free Tickets
- In the “Add ticket” section you need to select “Free Ticket”.
- Give a name to the ticket.
- Add the quantity of tickets (it will reflect in event capacity).
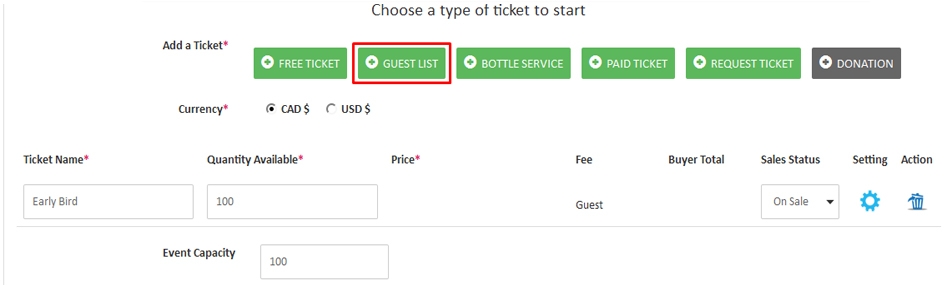
2.3 Create Ticket For Guest List
- In “Add ticket” section you need to select “Guest list ticket”.
- Give the name to the ticket.
- Add quantity of tickets it will reflect in event capacity also.
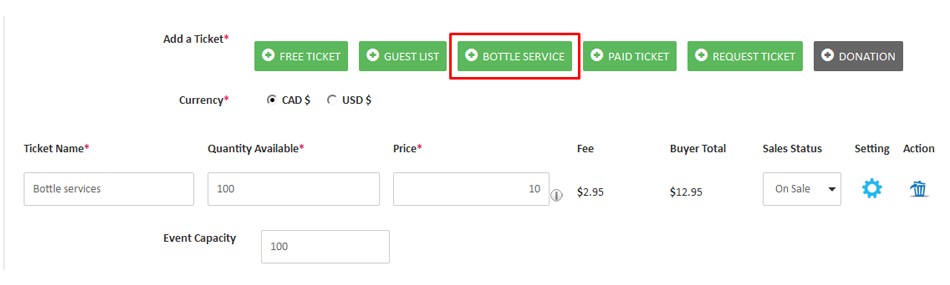
2.4 Create Ticket For Guest List
- In Add ticket section you need to select Bottle service ticket.
- Give a name to the ticket.
- Add a price (processing fees will be calculated and it will show as buyer total).
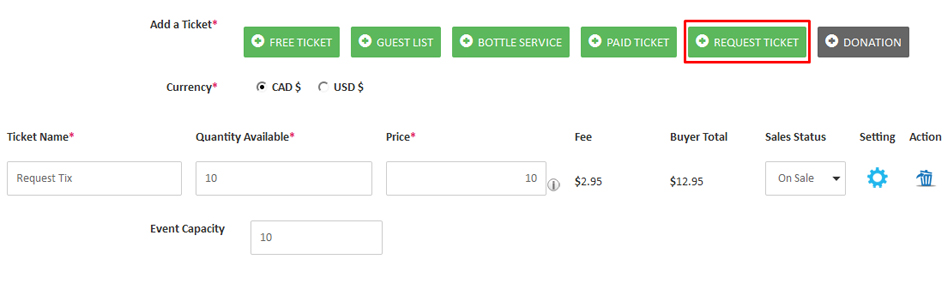
2.5 Create Request Tickets
This ticket type will allow you only sell your tickets by request only. Customers will choose the amount of tickets they need to request and then an email will be sent to you to approve or decline the request. Once you do that, the customer will receive a link to purchase the tickets. You can also add a committee member to send the request or it can be sent to you by the promoter by default.
To create request tickets follow these steps:
- In “Add ticket” section you need to select “Request Ticket”.
- Give a name to the ticket.
- Add a price (processing fees will calculated and it will shows as buyer total).
2.6 Create Donation Tickets
TicketGateway provides the tools you need to collect donations and fundraise for causes. It is easy to collect donations online or on-site using TicketGateway Organizer. You can even integrate your event with Kindful to automatically create donor profiles and help engage your donors.
To create donation ticket follow these steps:
- In “Add ticket” section you need to select “Donation Ticket”.
- Give a name to the ticket.
- Add a price (processing fees will calculated and it will shows as buyer total).

2.7 Add Fees
- Pass on fees to the buyer (admin fees will transfer to the ticket buyer).
- Absorb the fees (admin fees will be absorbed in ticket price and it will be taken from the event organizer earning).

2.8 Add Tax
- You can charge tax (GST, HST) on tickets, set “Yes” to apply this settings.
- You can charge facility tax for extra service on tickets, set “Yes” to apply this settings.

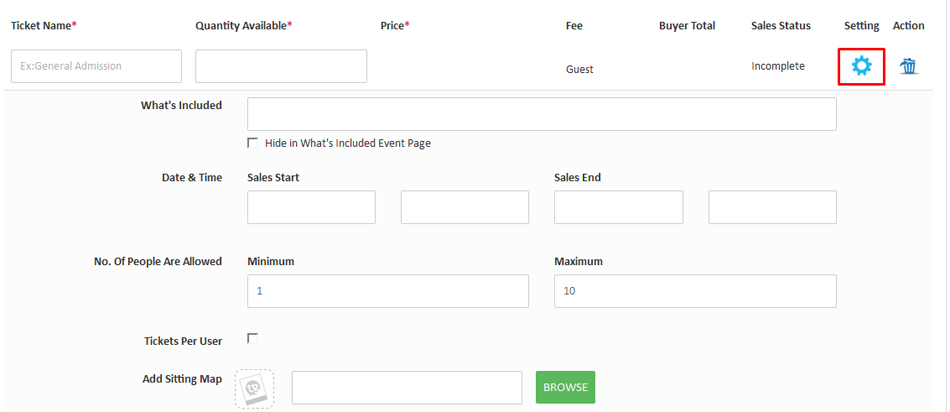
2.9 Ticket Setting (Optional)
You can also add more options by clicking on the settings button
- Add a ticket description if required.
- Add a ticket sales start date and end date.
- Number of people allowed.
- Assign Tickets per user.
- Add a seating map if available.
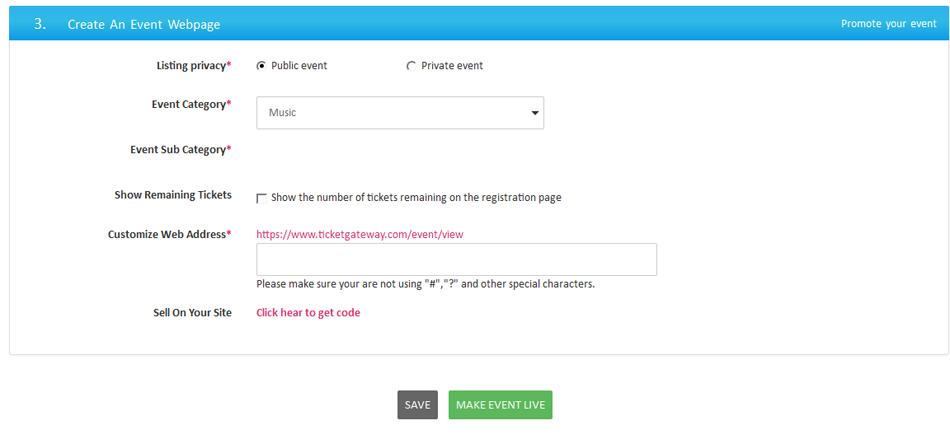
2.10 Make Your Event Live
- Choose “Event listing” option.
Public event : Selecting this option makes your event live and visible for search engines to crawl for ranking.
Private event : Selecting this option means your event will not be listed in our event directory or on search engines.
- Select a suitable event category.
- Give a customized web address.
- Make your event live.
- You can save the event for the future.